Step 1 - Create a Basic Flow
Introduction to Step 1
In this step we will create a very basic flow, just to get things going. This is a simple (and so unrealistic!) payment flow involving a payment instruction from a creditor then it being immediately completed without any of the steps that a payment would normally go through. As new concepts are introduced, then a link will be provided to the IPF Developer Documentation to provide more information.
Defining the flow
You have a project, solution and model created for you with the domain specific language and dependencies that you need, so it’s time to try and set up the flow itself. Right click on your model, select New>v2flo>Flow.
You will be presented with the following screen:
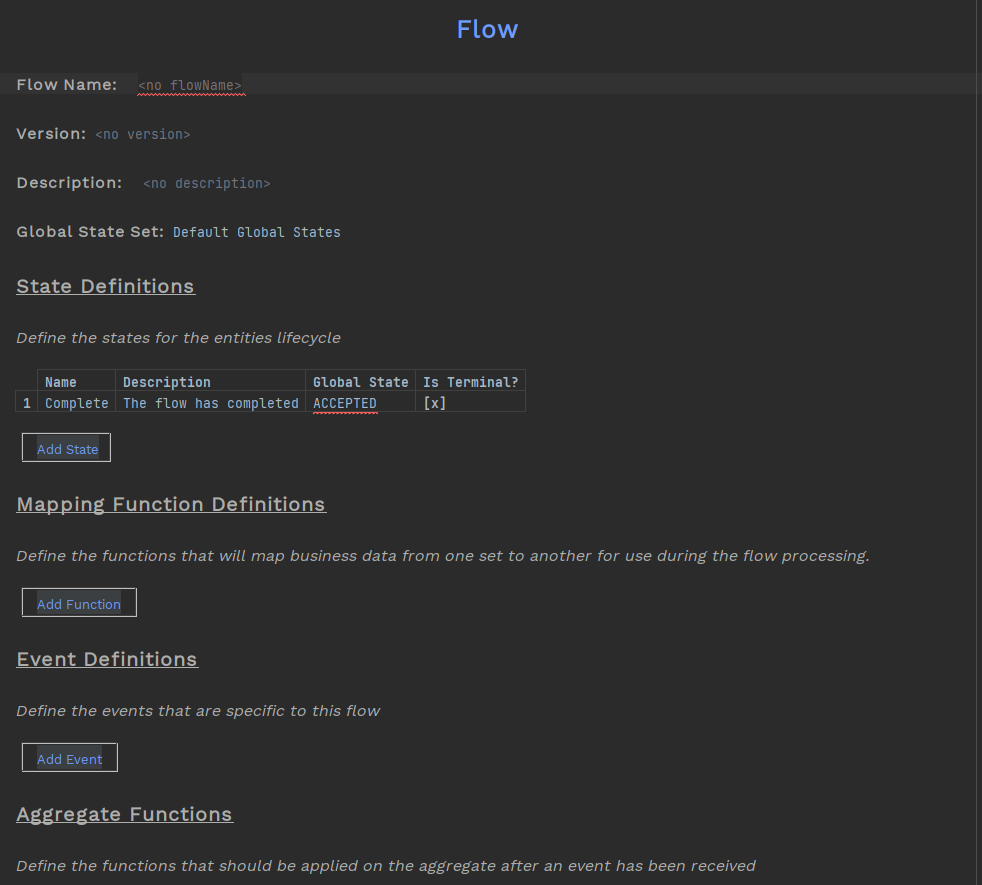
Type in 'Outbound Payment Flow' to name the flow, add a description and then you can start filling in the important stuff.
Initiation Behaviour
The first thing we will look at is the initiation behaviour. A flow has to be started in some way, either through an instruction or (as we will see in a different section of the tutorial) from another flow. When a flow is initiated then we can define the first state and any action we would like to occur.
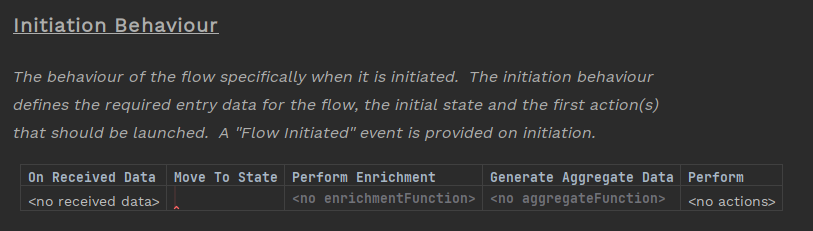
In this very simple flow we are going to immediately complete the flow, so we need to set the 'Move To State' to 'Complete', but before doing that, we will need to define the state.
States
In a flow, an object (a payment in this example) will transition between states. Each state used in a flow needs to be defined, and in this very simple first flow there is only one complete state that we will need to create.
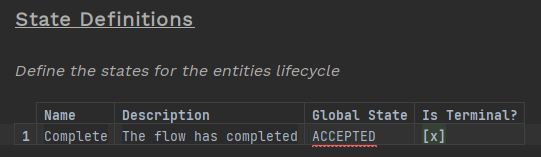
To be able to do this we go to the 'State Definitions' section of the flow.
A complete state is already provided by Flow Designer, so at this stage you do not need to do anything.
The complete state signifies our flow is finished (we’ll create other intermediary states in later steps of the tutorial). For this purpose there is a flag that is defined on the state called "Is Terminal?" which has automatically been selected.
The 'Global State' is used to group states together to make them easier to navigate and select on the IPF Dashboard. We are not using the IPF Dashboard in this tutorial so we will leave this at the default setting of 'Accepted'.
Completing the Flow
Now go back to initiation behaviour and add the the state we have just defined. Place your cursor in the 'Move To State' cell and press Ctrl+Space. You are presented with the viable options available to you at this point.
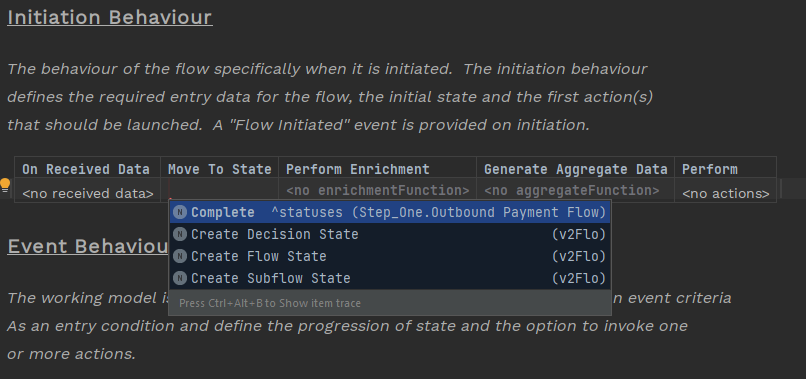
You can now select the 'Complete' status and that creates a very simple flow.
Checking the flow
Now we’ve entered everything to set up our flow.
You can check how the flow looks by using the Flo-Viewer.
Place the cursor anywhere in the 'Outbound Payment Flow' tab and then select from the top level - you should see a diagram like this:
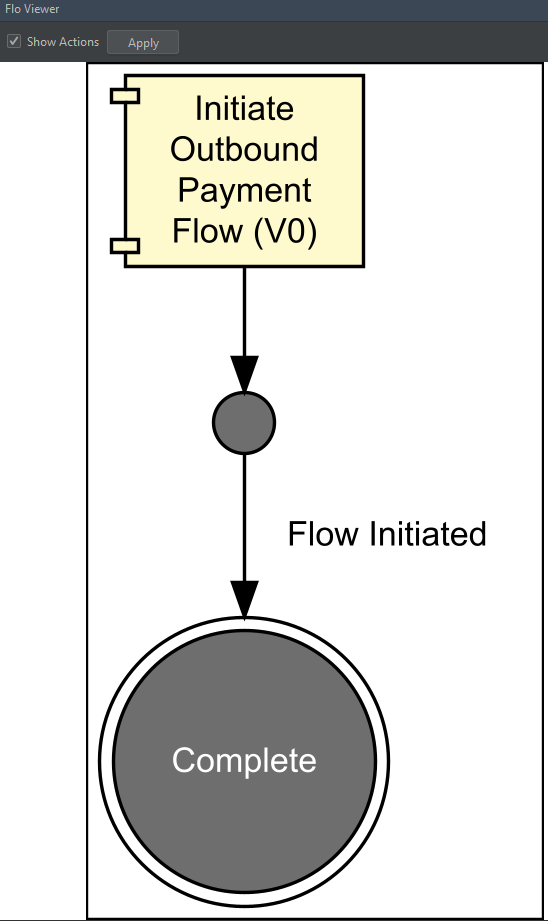
This is a pictorial representation of our flow. It shows you what you’ve just built. For now it’s pretty simple, but when designing flows one of the useful features of the flo-viewer is that it updates in real time so as you change and enrich your flows the impacts of that will immediately be seen. That gives you a really good way of being able to review what the impact of any changes are as you’re making them.