Step 3 - Add a Notification
Introduction to Step 3
Notifications are a one-way communication from the flow to an external domain.
In this tutorial step you will create a payment monitoring external domain and a notification for when the payment has been successfully completed, to let the monitoring system know a payment has been successful.
You will also create an action to ensure that a notification is actually sent.
Defining the external domain
An external domain can be thought of as anything that you need to get information from or pass information to that is outside the flow. So the simplest example of an external domain is another system. For this flow, you need to send a notification to an external monitoring system.
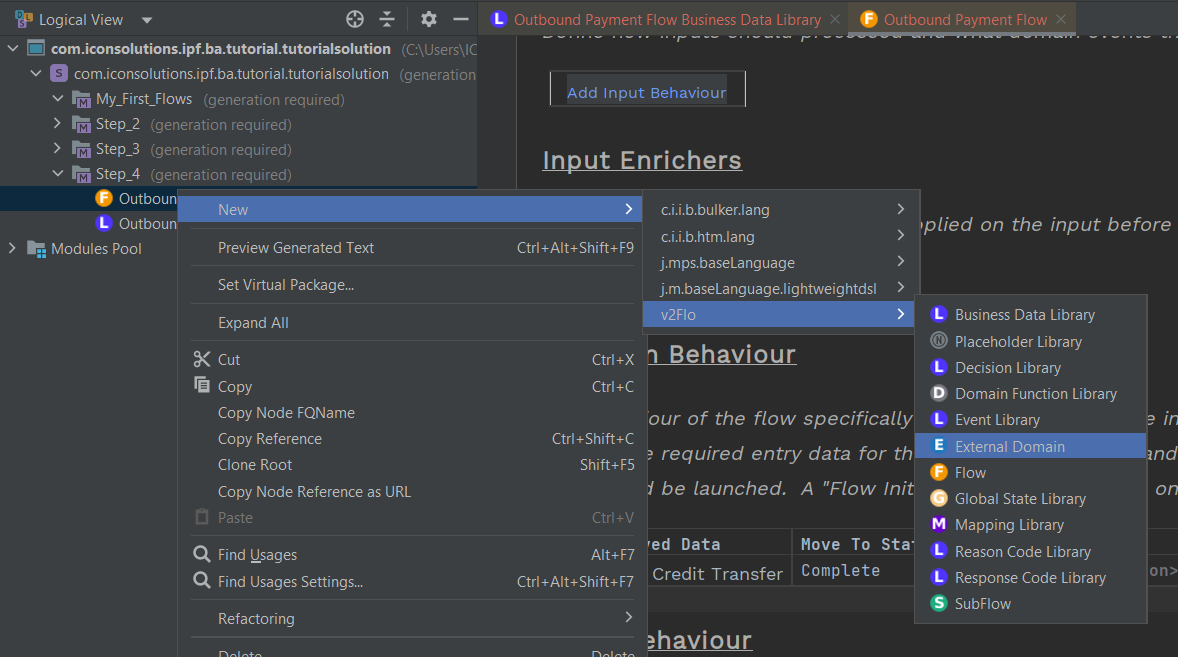
Again you start by right clicking your process flow and selecting "New>v2Flo>External Domain"
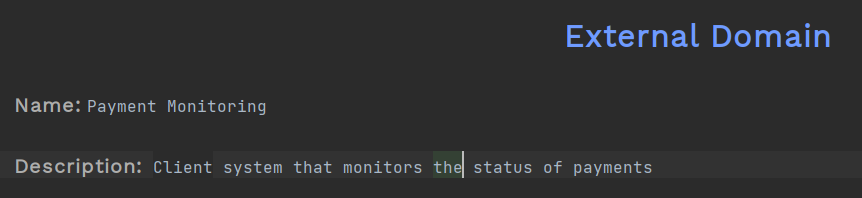
Then you enter the name and description:
Add the Notification
External domains have three types of interaction that can be defined:
-
Instruction - this is something that the external domain will send to the flow, but you didn’t explicitly ask for.
-
Request - this are things you are going to ask the external domain and to which you expect a reply. At the moment, you don’t use these but you will in a later step
-
Notifications - these are things you want to tell the external domain ourselves but to which you won’t expect a reply. you will add a notification in this step.
So firstly lets add that notification. For this you simply click "Add Notification" and then enter the name and description of your notification into the table that is displayed:

IPF includes a Connector Framework which developers use to communicate to an external domain from an IPF flow - this connector framework includes mapping capabilities to transform messages from one type to another (e.g. from JSON to XML) and map data from one message to another (e.g. from a Pacs008 to a Pacs002). If you assume that the connector for the Payment Monitoring system will need to transform the Customer Credit Transfer into something that the payment monitoring system can understand, then you will need to include the data the connector needs in the Business Data field of the notification. Later in the tutorial we will come back to this notification when we introduce the concept of a mapping function but, for now, this is sufficient.
In the final cell press Ctrl+Space and select the Customer Credit Transfer so the Notification looks like this.

Add an Action to the Flow to generate the Notification
You have defined the notification. Now you need to add the trigger for the notification to be generated.
You do this in the flow by adding an action. You have a very simple flow so this is going to be added to initiation behaviour - later on in the tutorial you need to change from where the notification is triggered.
This is the first time you have come across an 'Action' - an action is some kind of activity you want to take place upon a state change taking place. In this step it is a notification, but later on you will be adding other types of actions, like a request and a routing decision.
To add an action you need to do:
-
Double Click the Flow from the left menu
-
On the initiation behaviour, click your mouse in the Perform Action box and press Ctrl+Space
-
Select the TriggeredAction node
-
After 'Perform Action' press Ctrl+Space to get the options
-
Select the notification from the list provided

And there you have it - you have added a notification to the flow.